 ( 461 ) 5-July-2013
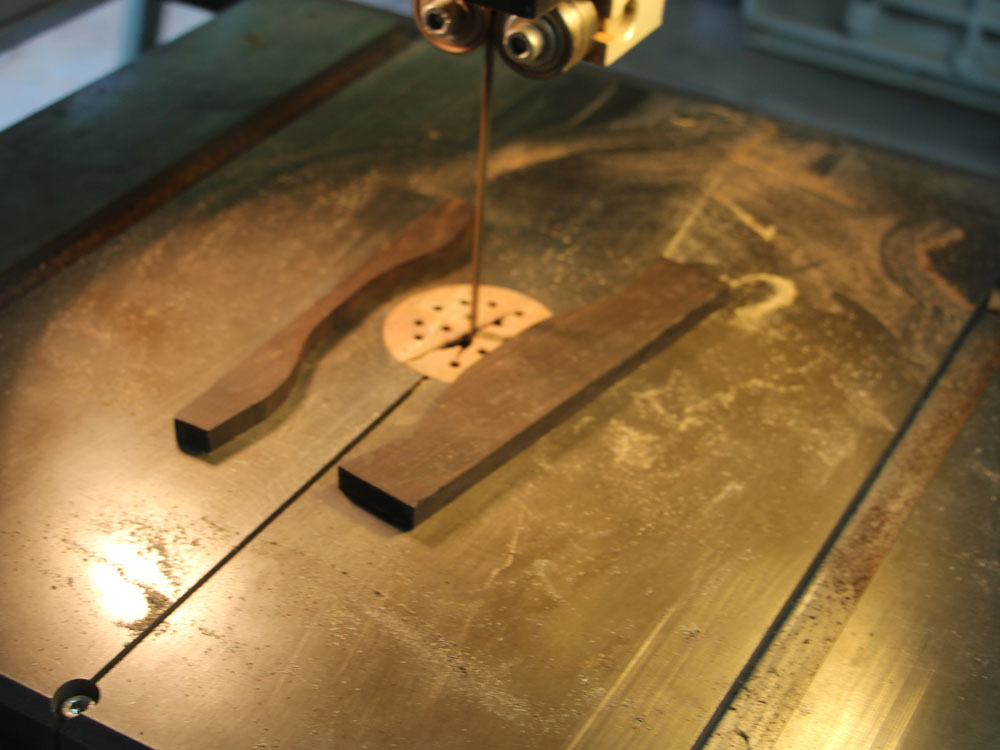
We are going to make the bridge out of ebony so it matches the fretboard and the head stock. Here I am cutting out the bridge blank with the band saw.
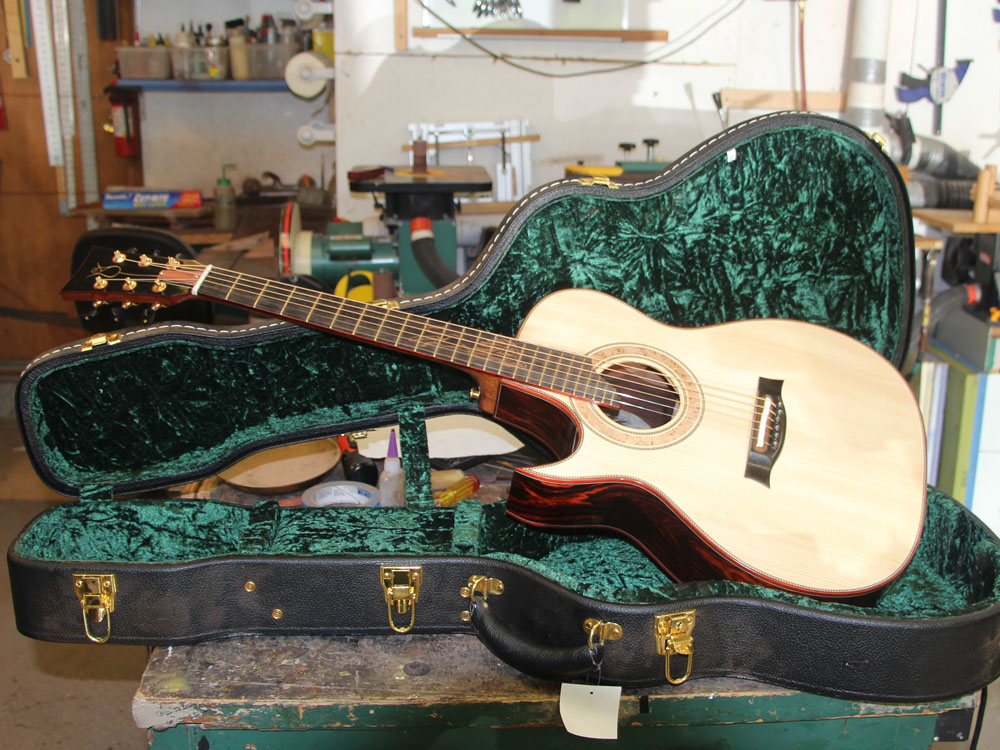
Cocobolo Body 15 inch lower bout
Adirondack Spruce Top
Lion Theme Marquetry
Mahogany Neck
Ebony Fretboard
Gold Frets & Gotoh Tuners
Padauk
Binding
25.4 Inch Scale Length
( 461 ) 5-July-2013
We are going to make the bridge out of ebony so it matches the fretboard and the head stock. Here I am cutting out the bridge blank with the band saw.
 ( 462 ) 5-July-2013
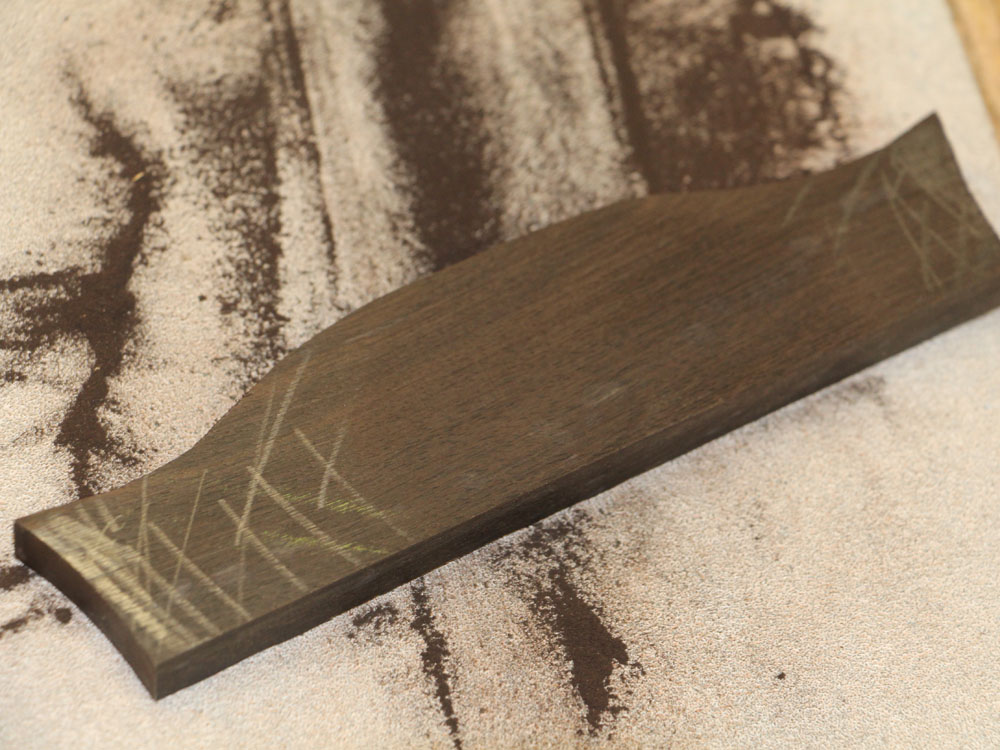
The bottom side of the bridge has to match the shape of the top, which nominally has a bowl shape with a 20 foot radius. I use a sanding form that has the same shape as the top. I mark the bottom of the bridge blank with pencil.
 ( 463 ) 5-July-2013
When all of the pencil marks are gone I know the bridge matches the top.
 ( 464 ) 5-July-2013
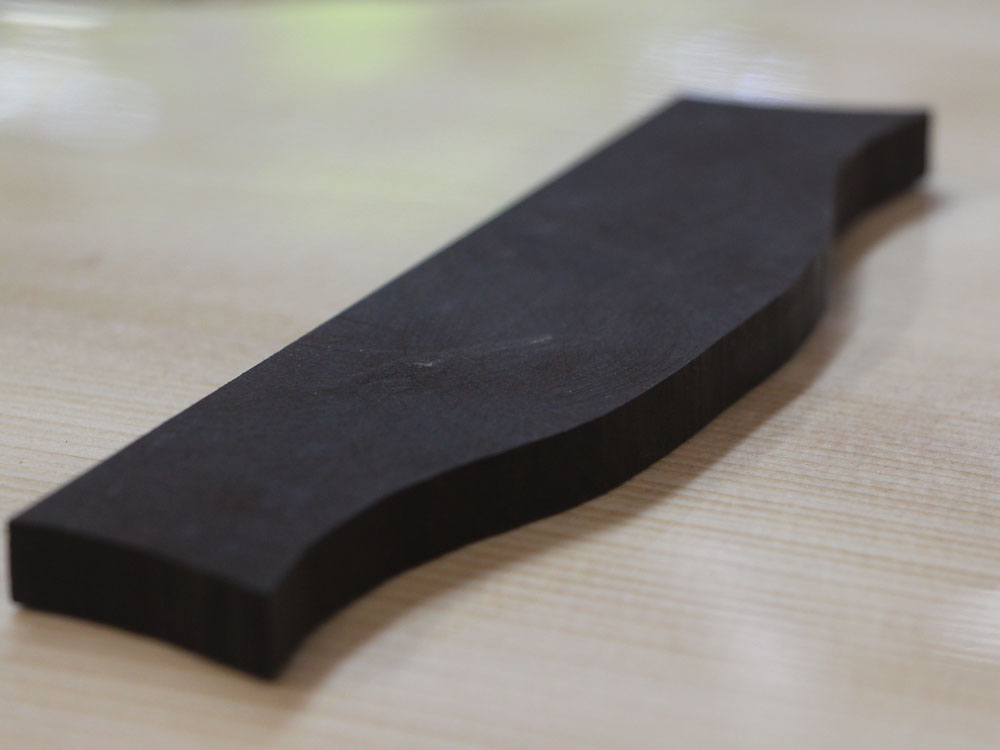
Checking for fitness.
 ( 465 ) 5-July-2013
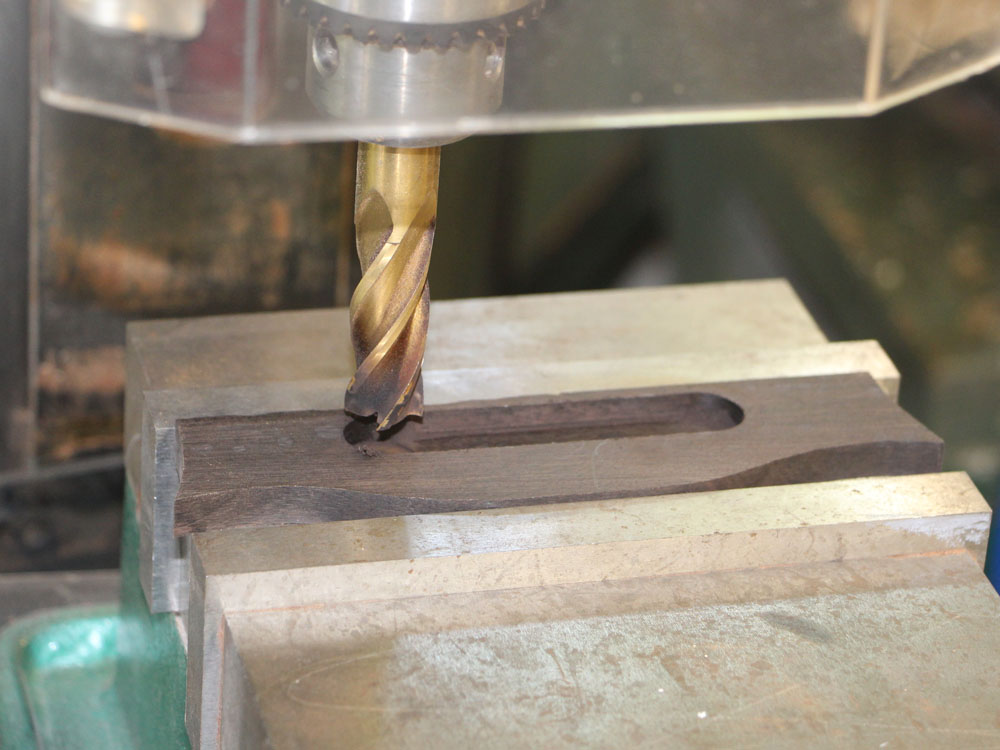
This bridge will be a Portland Guitar Split Saddle Bridge. I am using my milling machine to route out the channel for the saddle plate.
 ( 466 ) 5-July-2013
The milling machine lets me create an accurate and precise channel.
 ( 467 ) 5-July-2013
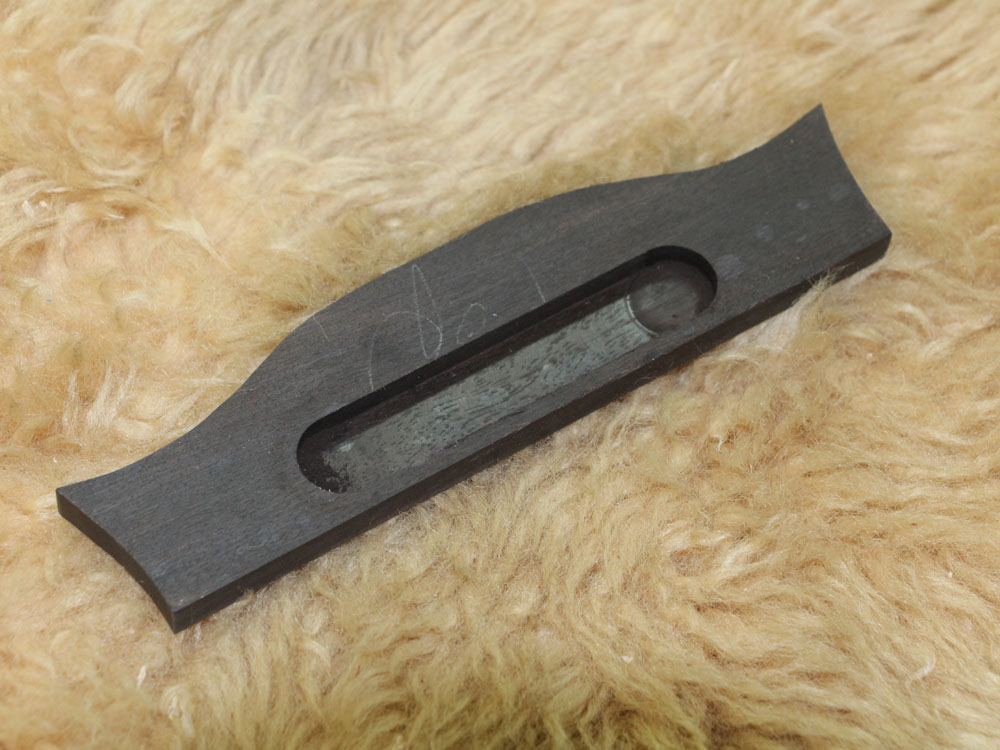
The saddle plate will go in the saddle channel.
 ( 468 ) 5-July-2013
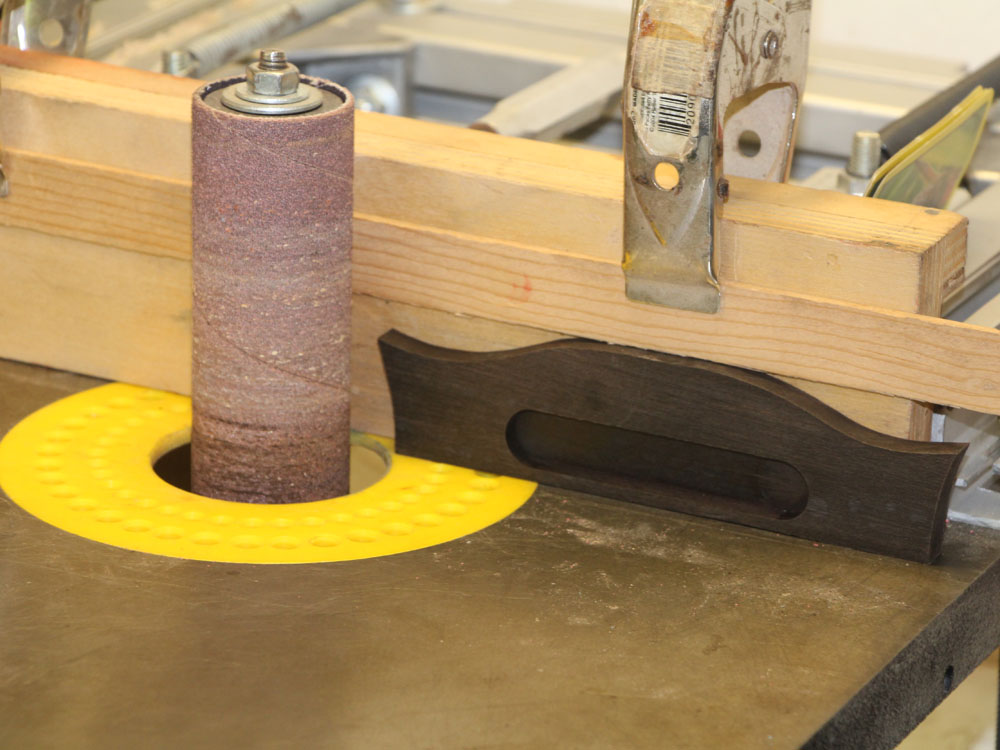
I use my oscillating sander to create the wings. I have an adjustable platen that lets me control how deep the wings will be. Here I am making the right side wing.
 ( 469 ) 5-July-2013
I turn the bridge blank upside down to make the left side wing.
 ( 470 ) 5-July-2013
I only sand away about 15 mil of material with each pass. Being careful, the two wings will be the same depth.
 ( 471 ) 5-July-2013
The milling machine, which has an X-Y movable stage, is used to position and drill the bridge pin holes.
 ( 472 ) 5-July-2013
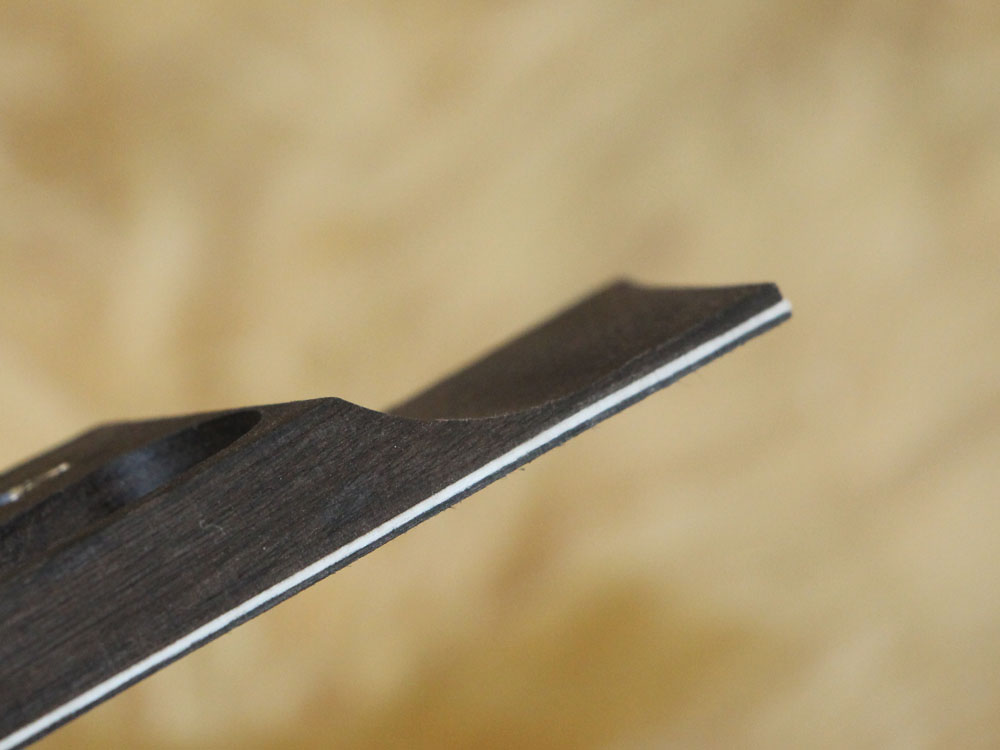
And finally, I glue a sheet of black/white fiber sheet on the bottom of the bridge to create a nice b/w pinstripe on the bottom edge of the bridge.
 ( 473 ) 5-July-2013
 ( 474 ) 5-July-2013
I use several different tool and a bit of hand sanding to shape the bridge.
 ( 475 ) 5-July-2013
Here I have mounted the bridge on an L-flange to hold the bridge vertical as I sand an arch on the top of surface of the bridge.
 ( 476 ) 5-July-2013
The buffing wheel brings out a nice natural shine. The bridge doesn't have any lacquer on it. The shine is due only to the natural oils of the ebony.
 ( 477 ) 5-July-2013
Here I am measuring the placement of the ridge on the top of the guitar. I don't have to be overly accurate in the bridge placement because the Split Saddle Bridge gives me about 3/8 of an inch in adjustment latitude. This latitude will let me accurately set the intonation of each string. This is a feature that a standard compensated saddle lacks. A standard compensated bridge is typically 1/8 inch thick, which limits the amount of fine tuning possible.
 ( 478 ) 5-July-2013
I use a playing card... playing cards have surprisingly tight tolerances... (if they weren't you could use the differences between cards to tell you or your opponent which card is which)... to make sure the bridge is perpendicular to the center line of the guitar. The card has the advantage that it won't scratch or dent the surface of the guitar as I move it around.
 ( 479 ) 5-July-2013
A deep throated C-clamp is used to hold the bridge in place.
 ( 480 ) 5-July-2013
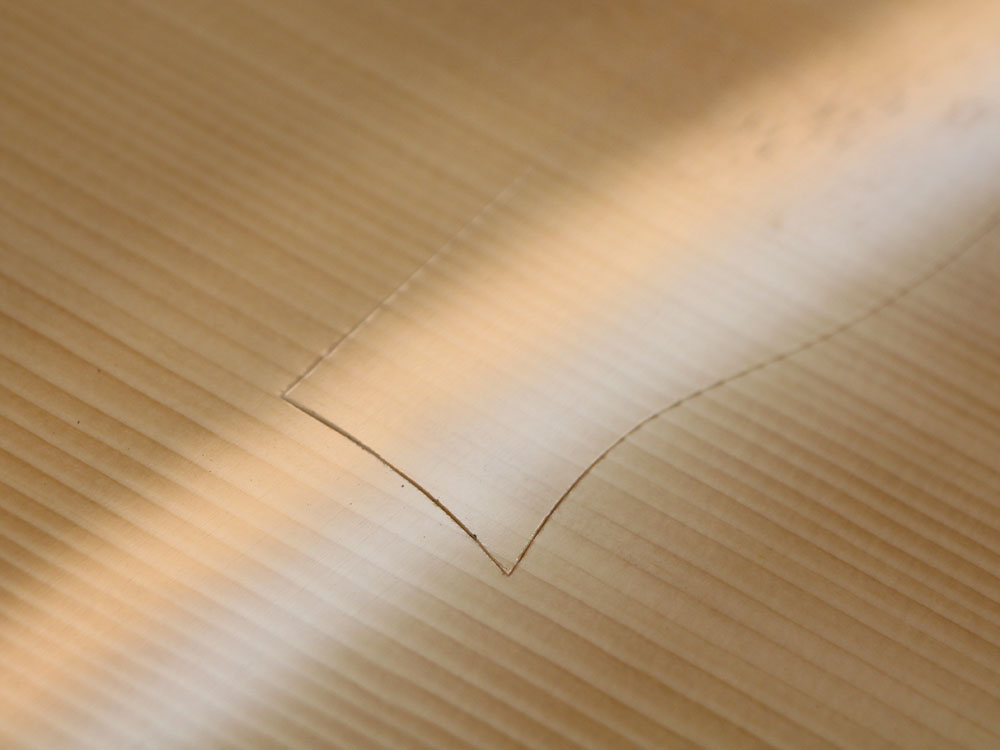
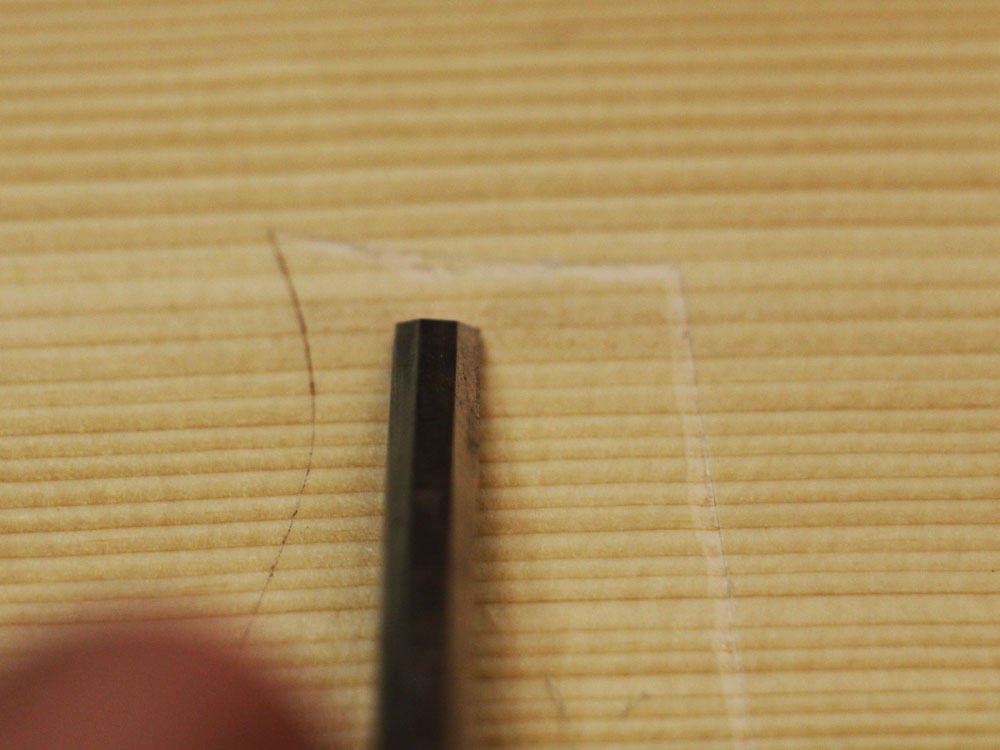
I use a sharp blade to score the perimeter of the bridge.
 ( 481 ) 5-July-2013
 ( 482 ) 5-July-2013
And then I carefully chisel away an 1/8 inch of the lacquer.
 ( 483 ) 5-July-2013
I need to remove the lacquer where the bridge will sit on the top so we get a good glue bond between the top and the bridge. Glue won't stick very well to lacquer.
 ( 484 ) 5-July-2013
 ( 485 ) 5-July-2013
A bit of glue goes on the bottom of the bridge.
 ( 486 ) 5-July-2013
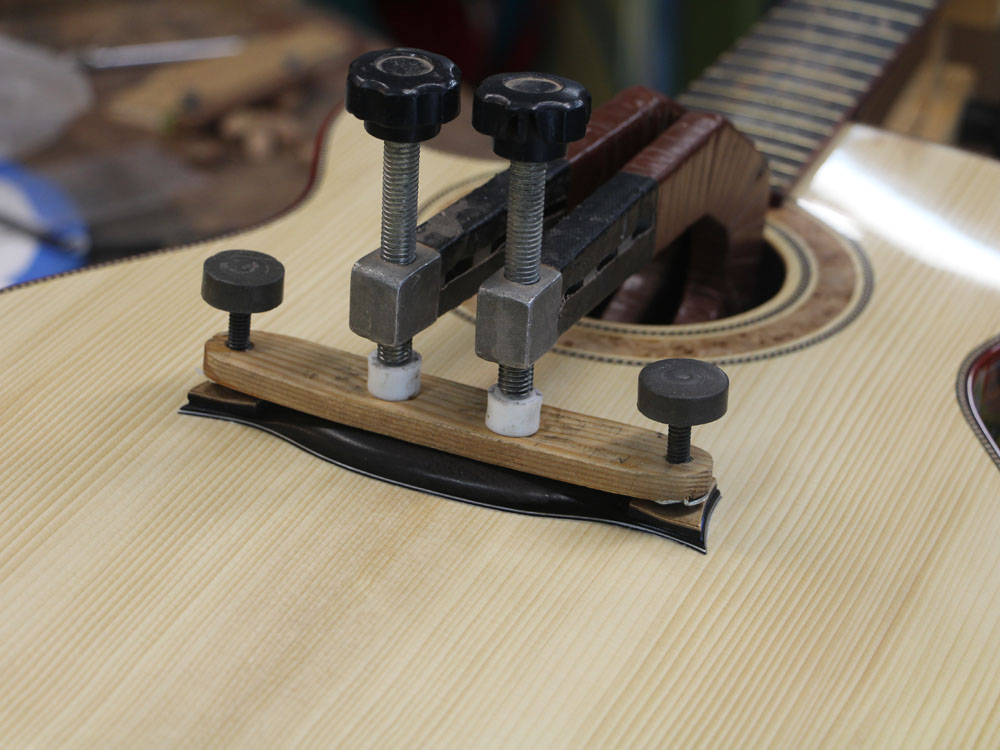
And then I press the bridge into place with a couple of c-clamps and wing presses.
 ( 487 ) 5-July-2013
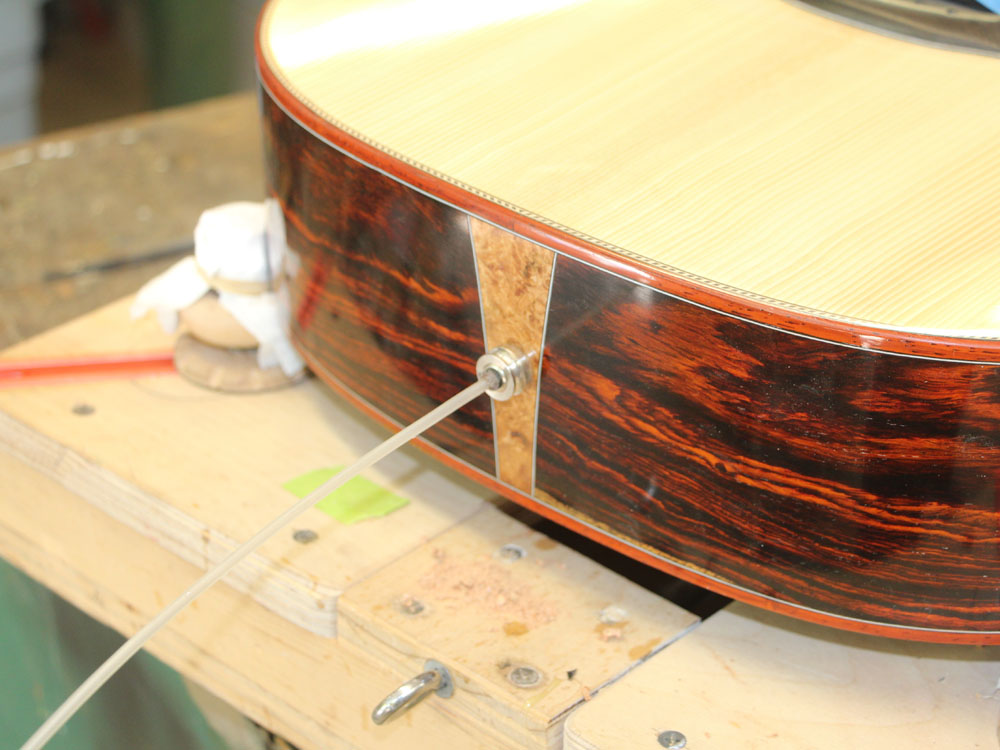
Here I am installing the end pin phono jack. I feed this flexible rod through the hole in the end of the guitar and pull the jack into place.
 ( 488 ) 5-July-2013
The heel strap pin is removable on Portland Guitars so you can access the adjustment bolt on the User Adjustable Tilt Action Neck.
 ( 489 ) 5-July-2013
I made a Cocobolo dot to go in the center hole of the button.
 ( 490 ) 5-July-2013
Do you like it when I drill through the top of your guitar? Here I am drilling out the holes for the bridge pins.
 ( 491 ) 5-July-2013
And I ream put the holes to match the taper of the pins.
 ( 492 ) 5-July-2013
I have a template and a set of special files to help me create the slots in the bone nut. We use bone for the saddle and nut because it is hard and stiff yet can be shaped with relatively ease.
 ( 493 ) 5-July-2013
The first string.
 ( 494 ) 5-July-2013
Here you can see the set of individual saddles. The set of saddles sit on a Cocobolo channel plate. I taper the channel plate so the high E1 string sits closer to the fretboard than the Low E6 string. I do this because the lower strings have a larger amplitude of vibration than the the higher strings do. Ultimately I want all of the strings to start to bottom out at the same time.
 ( 495 ) 5-July-2013
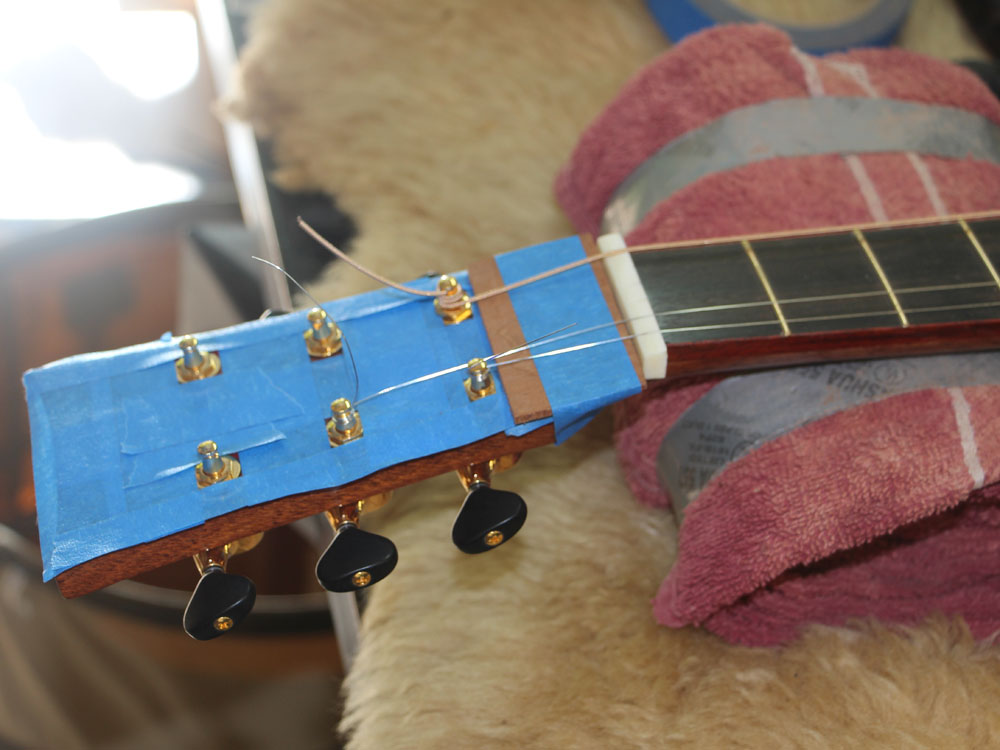
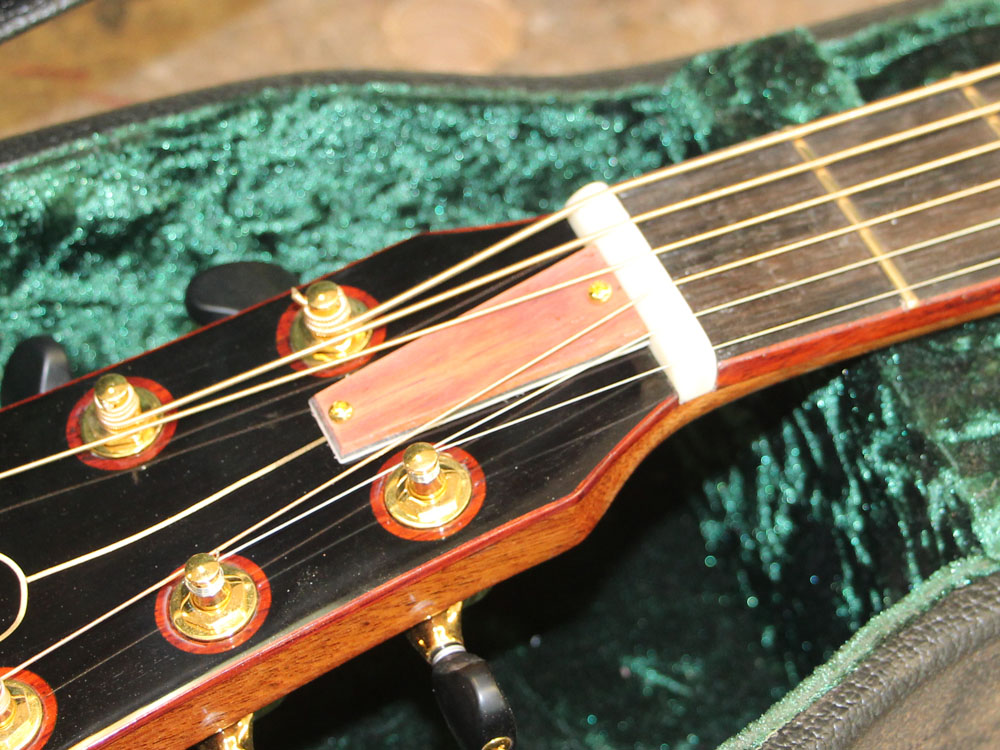
I have masked off the head stock to avoid scratch or denting the shine as I file the string slots to depth.
 ( 496 ) 5-July-2013
And the bridge gets masked off so I don't mess up the top as I shape the bridge pin holes.
 ( 497 ) 5-July-2013
And here is the bridge all strung up.
 ( 498 ) 5-July-2013
One of the last tasks is making the truss rod cover. This one is made from padauk to match the binding with a b/w pinstripe on the bottom edge.
 ( 499 ) 5-July-2013
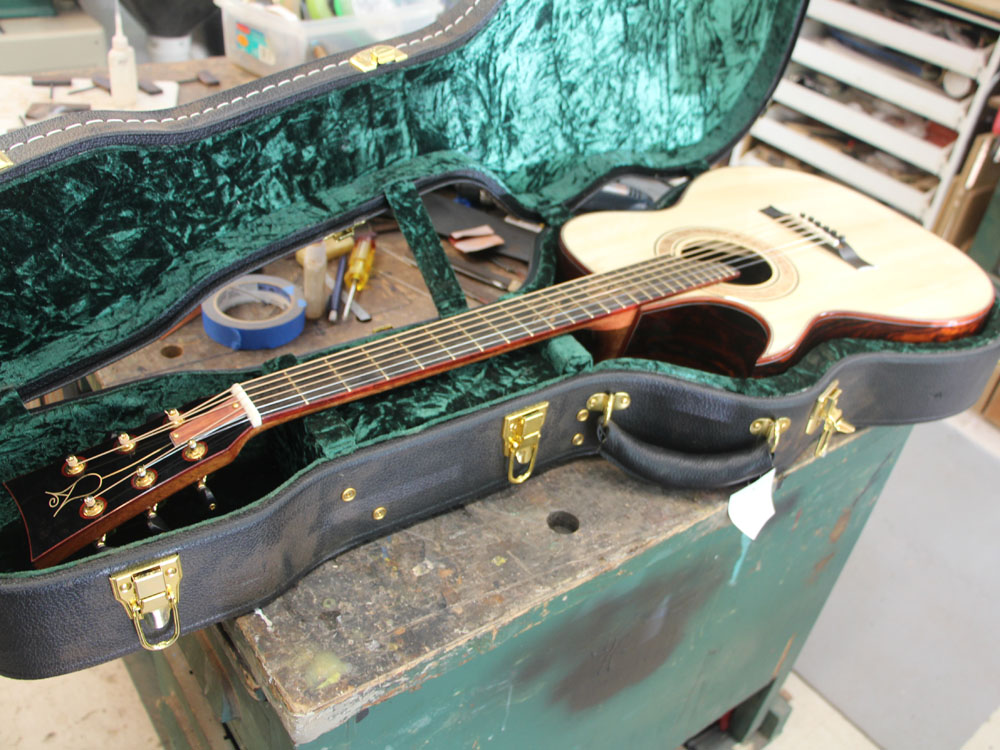
Except for the pick guard and gluing down the saddles...
 ( 500 ) 5-July-2013
The guitar is finished!